Professional installation – in other words, if you want a recommendation from a customer after carrying out satellite work – do a great job, use good materials, and tidy up afterwards!
For More Articles on European Satellite Installation go here.
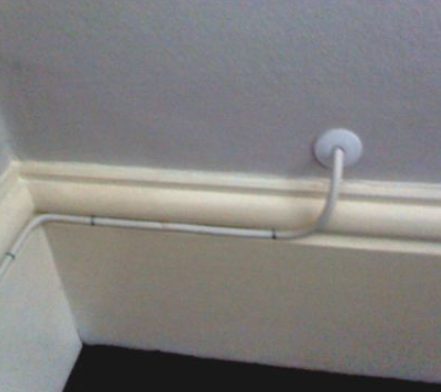
Professionals do a Neat and Tidy Job!
Satellite Installation need not look untidy! Use a matching colour cable if possible. A plastic grommet always looks better than just a hole in the wall. They are available for 1 or 2 cables. Use cable staples indoors, only use cable cleats outside.
Repair Any Damage resulting from your Work
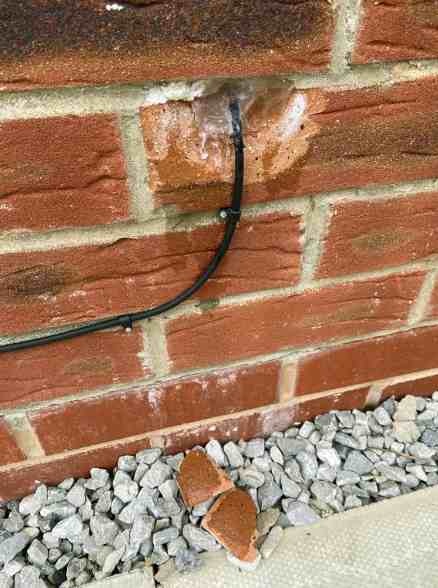
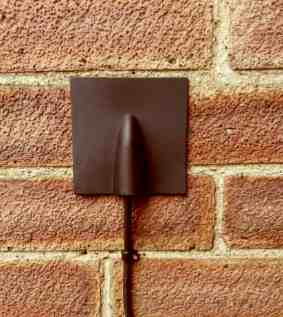
Sooner or later drilling a brick wall will result in brick ‘burst’ damage. A common problem where the bricks are made with grit in the mix, when the drill bit comes through, it explodes, making a bigger hole than was planned. A simple brick cover is the solution, fixed with mastic, this keeps out moisture and bugs.
Cable Routes
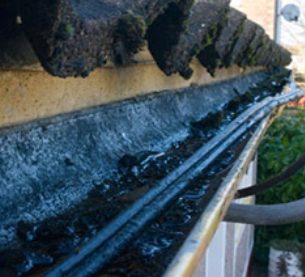
Don’t lay satellite cable in a gutter, it might be neat but the first bad winter where it freezes the water in the gutter, will split the cable open and let in the water, eventually leading to poor signal or no signal. The only time it is acceptable with satellite installation, is when there is a gutter guard ( prevents moss and leaves gathering ) in place, the cable should be cable tied to the guard.
Poles and Brackets
T&K brackets are useful when there is an overhang, but do not use long 18 inch brackets where short 12 inch brackets would fit. The shorter the better for resisting wind force.
A professional installation always sources galvanised brackets, never painted ones, these will last decades longer and look good.
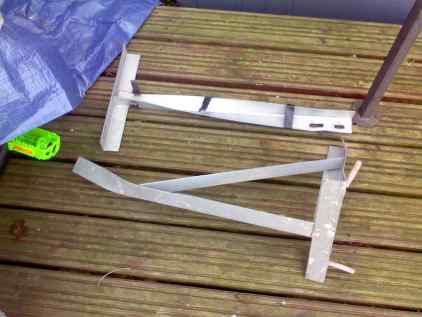
There are some T&K brackets made from thin steel, these will not hold a dish in a strong wind, especially if they were set too close together. A collapsing dish can cause a lot of damage, this one smashed the kitchen window and pulled out a brick from the wall.
Although aluminium poles do not rust, if the dish is large or the pole long, use a steel heavy duty pole. If the brickwork is a very old ‘soft’ sandy mix, as found in many London Victorian era homes, use more than the minimum 2 brackets – or you will be calling back !
Dish Quality

Use the best dish you can afford, for your satellite installation, this is my steel Triax dish, it was made before the milenium! Still in perfect condition, with no rust.
Triax and Technomate solid steel dishes have a good reputation. Aluminium will not rust, and is much lighter, less than 50% of the steel dish equivalent. So much easier to install when dealing with a large size dish.
- Steel (powder coated) -Triax, Technomate, Technisat and Fracarro make excellent long lasting dishes
- Aluminium – Long last and light but easily damaged Fracarro and Primesat
- Fibre Glass – Perfect for coastal areas – no rust but very expensive
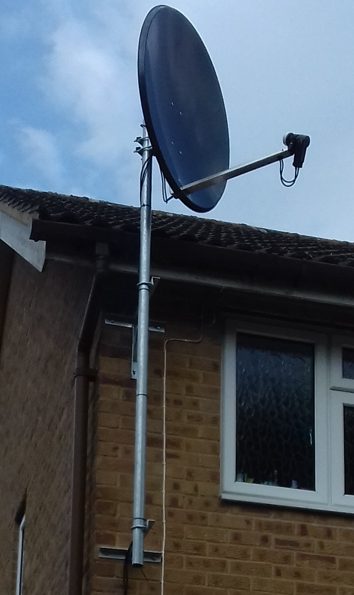
Simple professional installation methods give a long term solution and a satisfied customer. Use cable ties on the pole, not tape, over time tape will deteriorate and leave the cable to become damaged by the wind blowing it around. Note the spacing of the brackets, giving maximum support to the pole to prevent sideways movement in the wind.
How Not to Mount a Satellite Dish!
For European satellite tv, the most common dishes are Ku band, with sizes from 54cm to 1.1m. The larger the dish the more rigid the components have to be, to keep the lnb at the exact centre of the focus, to withstand the wind. Similarly the dish mount has to be very rigid to keep the dish steady in the wind.
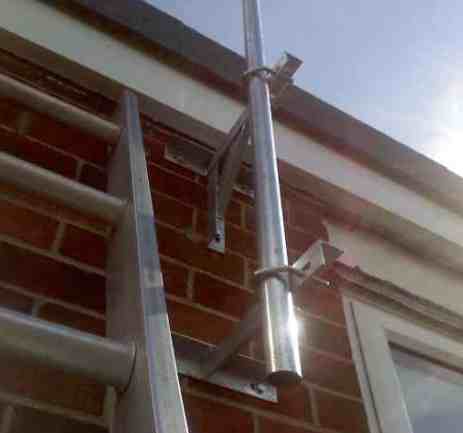
The pictures below show an 80cm dish mounted on a previous aerial installation, maybe the ‘professional’ installer did not have time to do it properly?
Mounting with thin poles under 2 inches or using aluminium poles will not give good results. If the dish moves in the wind, just 1mm east or west around the mounting pole (azimuth) , the direction can change significantly and the resulting error up in space some 38 thousand km away can be many hundreds of metres , giving hugely varying signal strength.
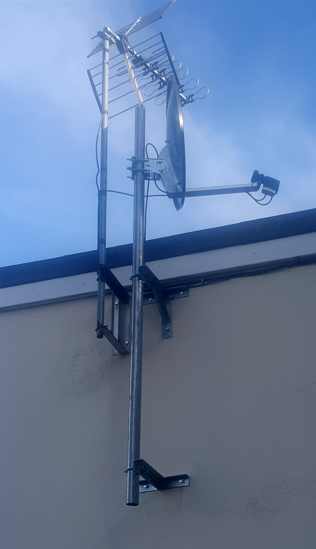
This dish was added to a thin 1 inch diameter aerial pole, some time ago. When I checked it, I was easily able to move the pole at least 2 inches side to side, with just one finger, so the wind will be able to do that too. This made the signal level vary, and hence the customer called me for help, as the picture was breaking up.
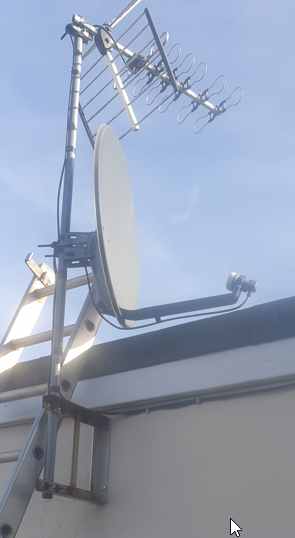
After some years of blowing back and forth the aerial mounting bracket had also become loose in the wall, making the problem even worse. Aerial brackets give little lateral support, but dishes have much greater wind resistance, so they do need lateral support. I put up a separate pole on short T & K brackets, ideal for the job. Notice the top and bottom brackets are well spaced out, giving maximum strength against the wind.
The previous installer had only used one dish clamp, which does not give good enough grip on such a thin pole. Most dish brackets have room for 1,2 or even 3 clamps, in really windy situations.
So, the professional installation method gave a result that was a higher signal strength in all weather conditions, no interference between aerial and dish and no danger of the combination coming crashing down.
NEXT Article – satellite cable
PREV Article What size dish to use